
What is Bail in Jewelry: Understanding Its Function in Accessorizing
A bail in jewelry refers to the component that connects a pendant or charm to a necklace or bracelet, allowing it to hang elegantly. As someone who appreciates the meticulous artistry of jewelry making, I recognize how the bail is both functional and decorative. This small but crucial piece serves as the bridge between a pendant and its chain or cord, ensuring that the pendant sits correctly and moves gracefully when worn. Bails come in various designs to accommodate different styles of jewelry and to harmonize with the pieces they support.
Exclusive Jewelry Savings – High Style, Low Spend!
Table Of Contents
Throughout my exploration of jewelry design, I've encountered numerous types of bails, each offering its approach to enhancing a piece. Some bails are simple loops of metal, meant to be subtle and let the pendant itself take center stage. Others are more elaborate, featuring intricate designs that contribute to the overall aesthetic of the necklace. The choice of a bail can significantly affect the look and feel of a piece of jewelry, making it a key element for designers to consider. Moreover, the functionality of a bail is paramount, as it must be strong enough to secure the pendant and withstand regular use while also being easy to use, allowing for the removal or interchange of pendants if desired.
Understanding Bail in Jewelry
When I discuss a bail in the context of jewelry, I'm referring to a fundamental yet crucial component that often goes unnoticed. A bail is the connective element that attaches a pendant to a necklace or chain, allowing it to hang gracefully. It serves both an aesthetic and functional purpose in jewelry design.
Bails come in various forms, each with its unique mechanism and design implications:
- Snap-on Bail: This type of bail features a mechanism that allows easy opening and closing, enabling the wearer to switch pendants without tools.
- Glue-on Bail: As the name implies, these bails are attached to pendants using a specialized jewelry adhesive. The adhesive ensures a secure attachment when pressed firmly.
In essence, bails are foundational to pendant design, playing a significant role in how the piece hangs and lays against the wearer's body. They are not just mere attachments; bails influence the overall aesthetics of the jewelry piece.
My approach to jewelry-making always considers the bail's design harmony with both the pendant and the chain. It's fascinating how a seemingly small component like the bail can significantly impact the jewelry's function and style. As with any detail in craftsmanship, selecting the right bail is an essential step in creating a piece that feels complete and coherent.
Types of Bails
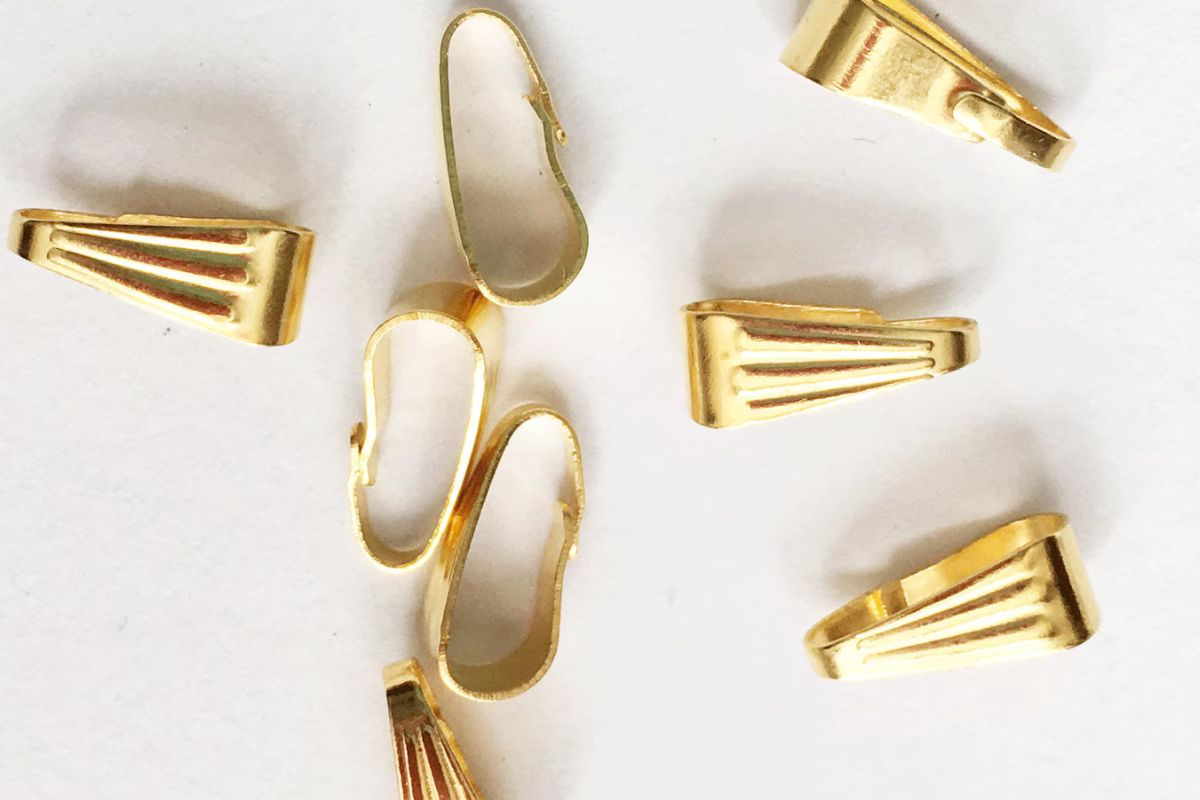
In jewelry making, bails serve as an essential connector between a pendant and a chain, allowing for a seamless and elegant display. Each type of bail fulfills a specific function and aesthetic, catering to various styles and needs.
Snap-On Bails
Snap-on bails provide a convenient option for those who need an easy way to attach pendants. I find snap-on bails to be versatile as they can be simply clipped onto a pendant without the need for additional tools or materials.
Glue-On Bails
For pendants that lack holes, I recommend glue-on bails. These bails are attached using a strong adhesive, such as E6000, to secure the bail onto a flat surface of the pendant.
Pinch Bails
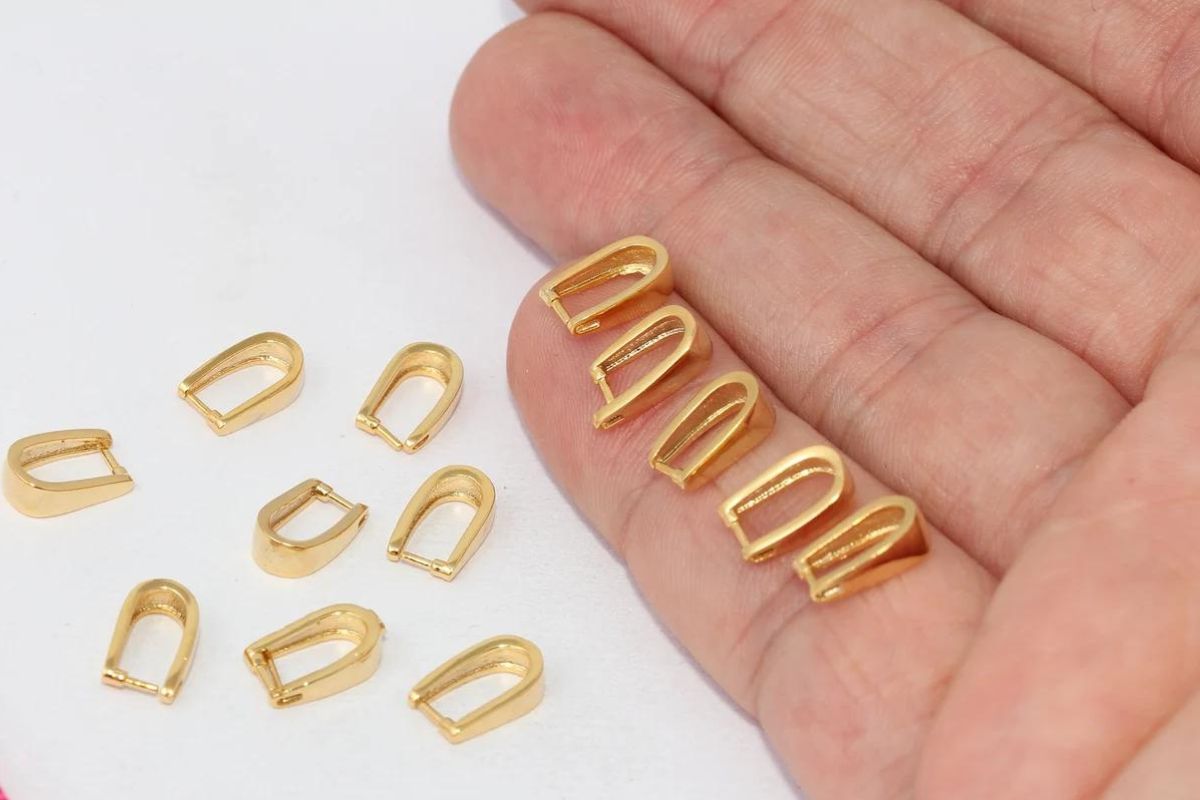
I use pinch bails for their elegant and secure grip, which is achieved by pinching the bail's two prongs together through the pendant hole. They are ideal for adding a sophisticated touch to any jewelry piece.
Screw Eye Bails
Screw eye bails incorporate a threaded post that screws into the pendant, offering a secure hold. I find them particularly useful for pendants made of materials like polymer clay or wood that can be easily drilled into.
Folding Donut Bails
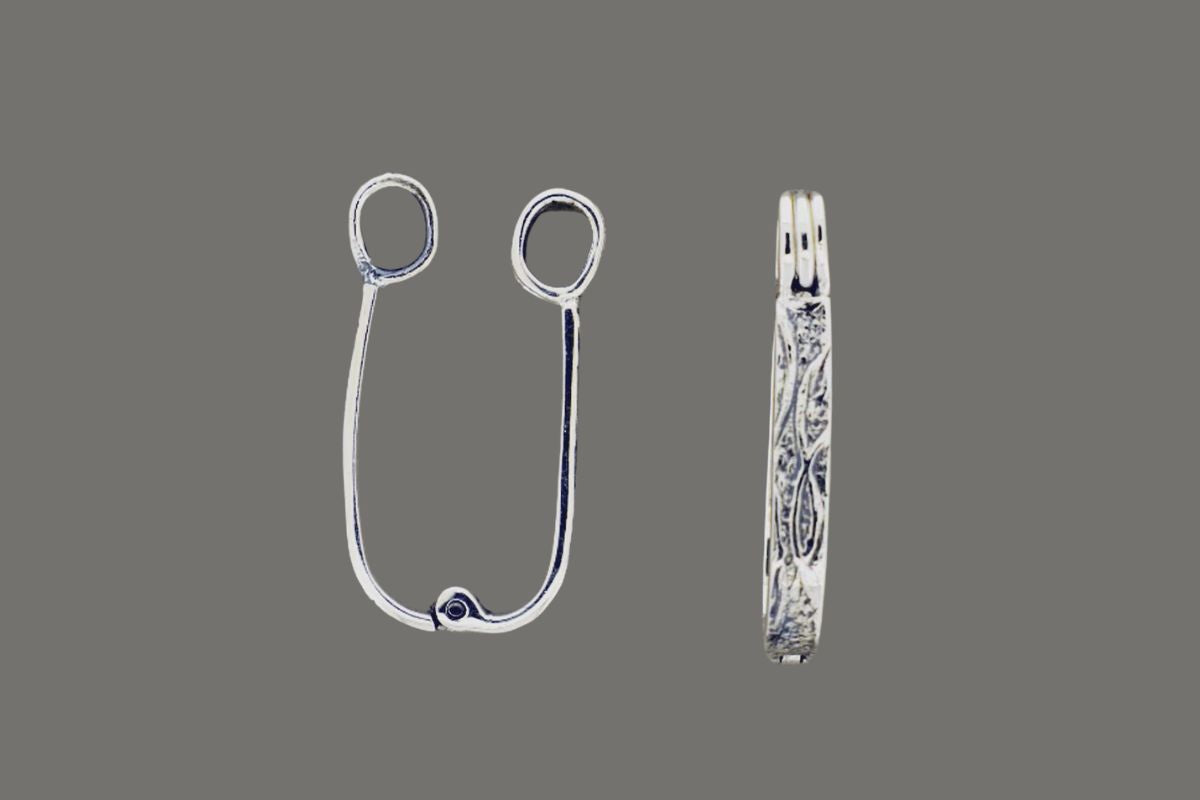
For donut-shaped pendants or focal beads, I suggest folding donut bails. These bails wrap around the donut shape and are particularly suited for statement pieces as they complement the pendant's design without overshadowing it.
Materials and Metals
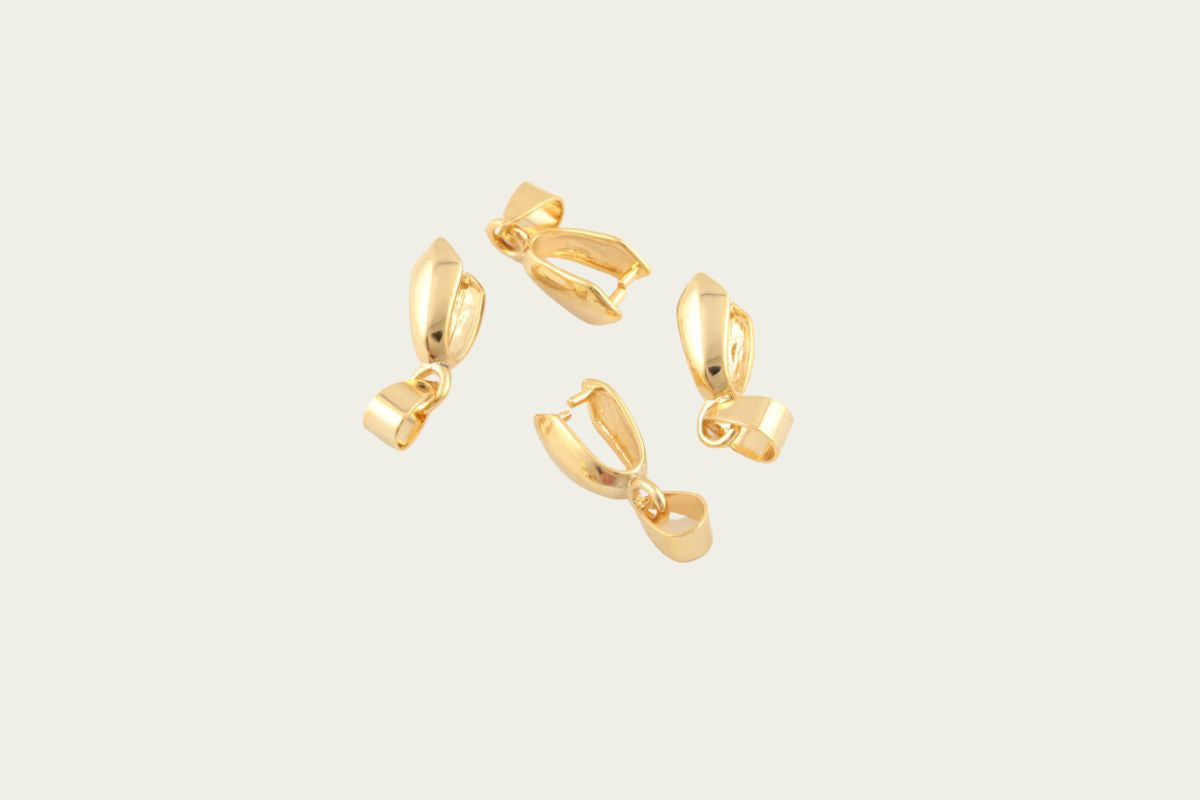
In the realm of jewelry, bails are pivotal components made from a variety of metals, each offering different aesthetic and functional qualities. As essential connectors, bails are meticulously crafted to ensure that pendants are securely attached and elegantly displayed.
Gold Bails
Gold is a top choice for bails due to its luster and resistance to tarnish. Gold bails are often selected for high-end jewelry, providing a classic and luxurious appearance that complements fine gemstones and pendants. These bails can be found in various gold qualities, including 14k and 18k, with the karat number indicating the gold content.
Sterling Silver Bails
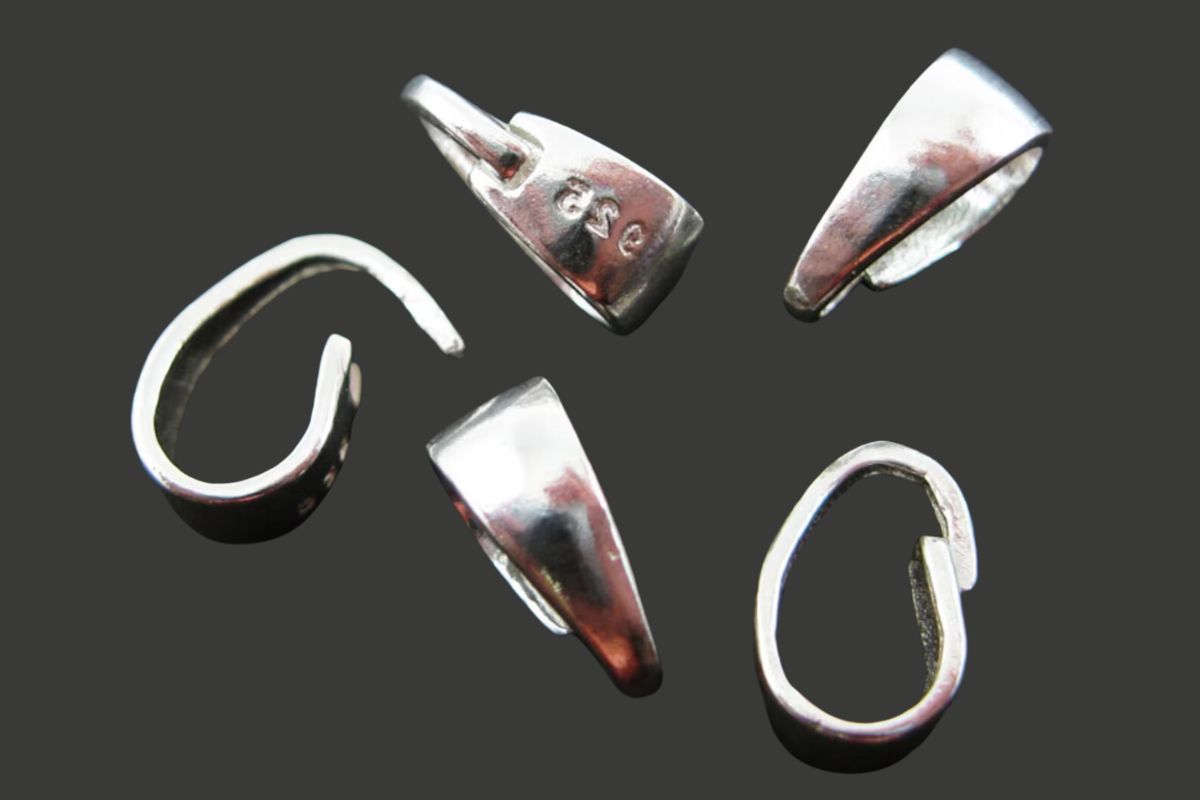
Sterling silver bails match well with numerous pendant styles, offering a balance between durability and value. I emphasize the importance of .925 sterling silver, an alloy made of 92.5% silver and 7.5% other metals, usually copper, to give the bail strength while maintaining a high silver content.
Brass and Pewter Bails
For an antiqued or vintage look, brass and pewter bails are excellent choices. These metals are appreciated for their warm tones and affordability. Brass bails often have a golden hue, while pewter bails exhibit a soft, silver-gray color. Both are commonly used as cost-effective alternatives to precious metals and can be coated or plated with other metals for various effects. It's crucial to mention that both brass and pewter can sometimes contain nickel or lead, so I look for reputable sources to ensure they are safe for customer use.
Choosing the Right Bail Size
| Jewelry Type | Recommended Bail Size (mm) |
|---|---|
| Pendant Necklace | 4-6 mm |
| Bracelet | 3-5 mm |
| Earrings | 2-4 mm |
| Anklet | 3-5 mm |
| Charm Bracelet | 3-5 mm |
In jewelry making, I recognize that the choice of bail size is crucial to ensure that a pendant or stone hangs correctly from a necklace. Selecting a size that complements the pendant and fits the necklace it will be used with is fundamental.
Measuring for Necklaces
When I choose a bail for a necklace, I first measure the diameter of the necklace where the bail will hang. This includes considering the thickness of the material, be it chain, cord, or beads. The interior of the bail needs to be slightly larger than the width of the necklace to allow for free movement and prevent the pendant from twisting or catching. For instance:
- For a 2mm necklace, I select a bail with an interior diameter of at least 3mm.
- For a 4mm necklace, a bail with an interior diameter of at least 5mm is appropriate.
Pendant and Stone Sizes
The bail size must also be proportionate to the size of the pendant or stone to maintain balance and aesthetics. A bail that's too small can be overpowered by a large pendant, while one that's too large may dwarf a smaller stone. I consider the following:
- For small pendants or stones (up to 10mm), a bail size ranging from 6mm to 8mm usually works well.
- Medium to large pendants (10mm to 25mm) typically require bail sizes from 8mm to 11mm.
In the process, I ensure the bail's style and opening can accommodate the pendant's attachment point. Some pendants may have larger loops or connectors requiring a bail with a larger opening.
Attachment Methods
| Attachment Method | Description |
|---|---|
| Soldered Bail | The bail is permanently attached to the jewelry piece using soldering techniques. |
| Open Bail | A bail with an open loop that allows the jewelry piece to slide through or be attached with a jump ring. |
| Glue-On Bail | The bail is adhered to the jewelry piece using jewelry adhesive or epoxy. |
| Wire Wrap Bail | A bail made by wrapping wire around the jewelry piece and forming a loop for attachment. |
| Drilled Bail | A hole is drilled into the jewelry piece, and the bail is attached through the hole using a jump ring or wire. |
In jewelry making, I've found that attaching bails requires precision and careful choice of technique. Depending on the material and design, I may solder, glue, or wire wrap to ensure the bail is securely fastened to the pendant or gemstone.
Soldering Techniques
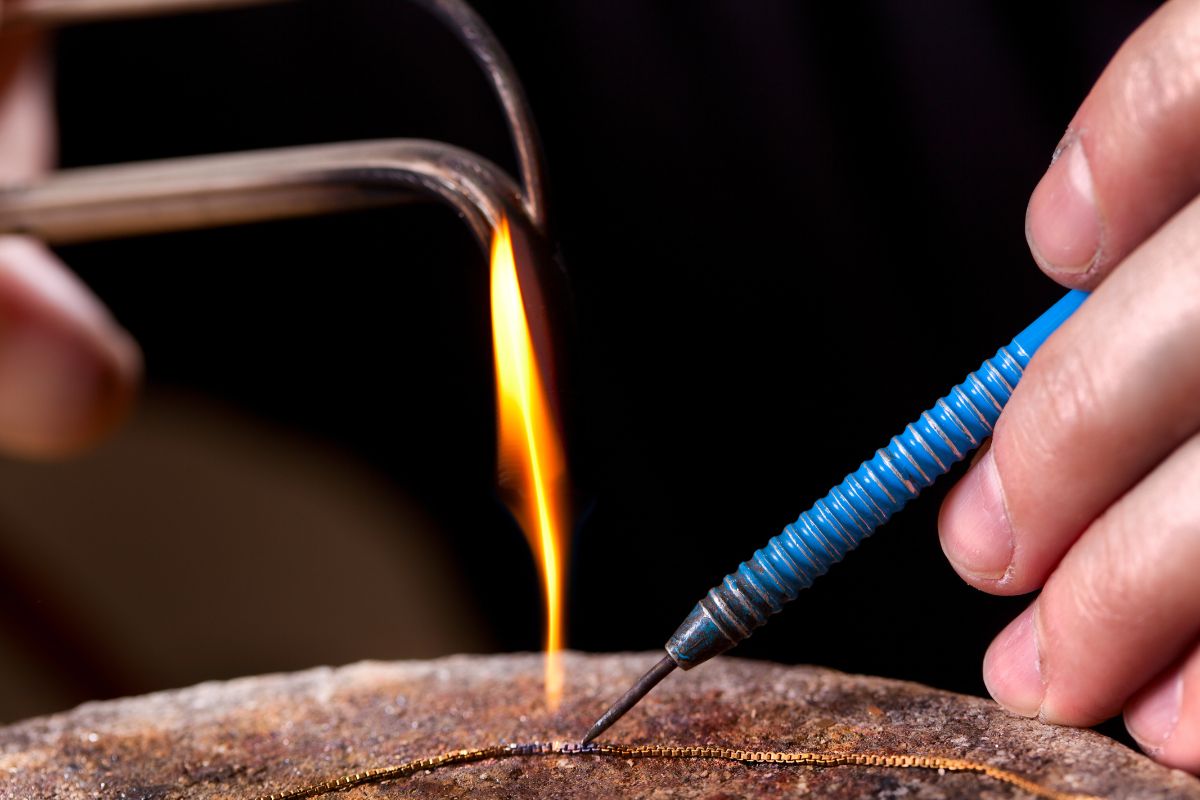
For a handmade piece of jewelry, especially when working with metal bails and gemstones, I employ soldering techniques for a permanent bond. Soldering involves using a heated iron to melt a filler metal into the joint, fusing the metals together upon cooling. I select a solder with a lower melting point than the base metals to avoid any potential damage. It’s imperative to use proper ventilation and precision tools, such as tweezers and pliers, to hold the pieces in place while soldering.
Gluing Techniques
When the design doesn't lend itself to soldering, I opt for gluing. For attaching flat-backed bails to materials like glass or unpolished stones, a strong adhesive is essential. I use two-part epoxies or a specialized jewelry glue for a secure bond. The key is to apply a small amount evenly, press the bail onto the surface, and allow sufficient time for the glue to cure. This method is suitable for lighter items that don't require the strength of a soldered connection.
Wire Wrapping
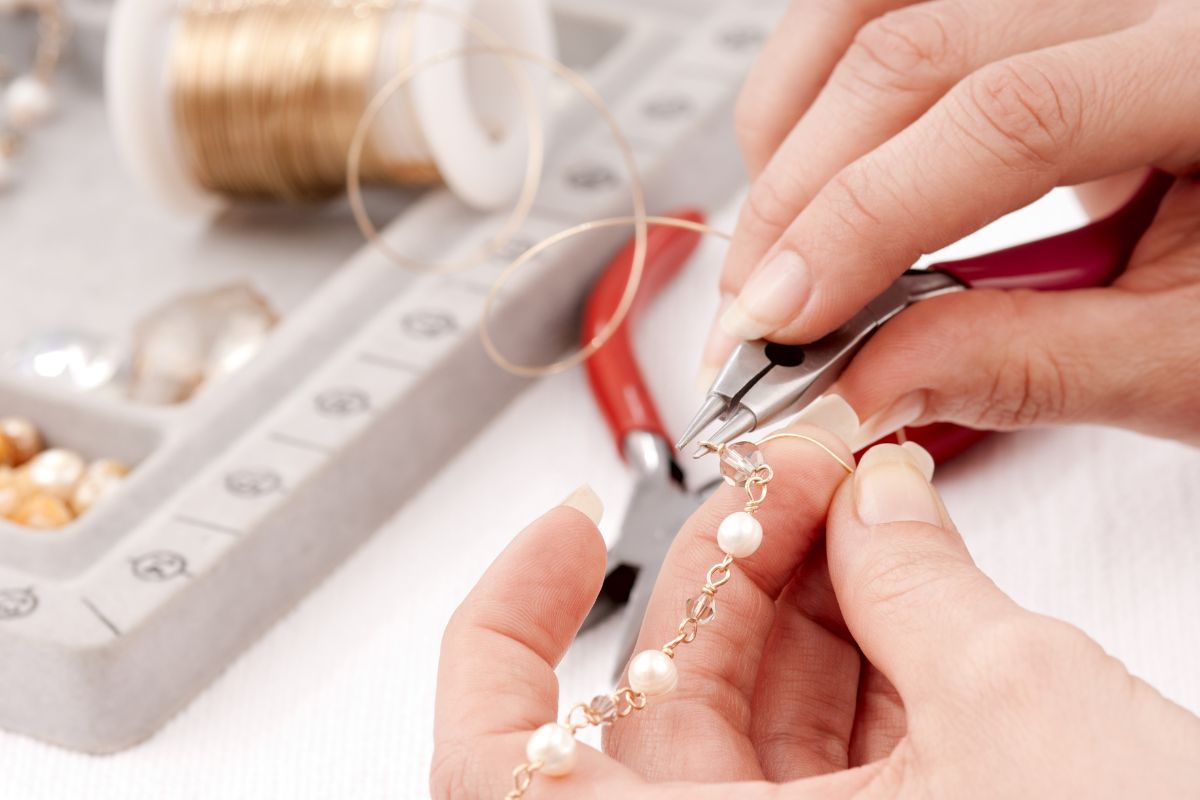
Another innovative method I utilize in my designs is wire wrapping. This approach is particularly useful for items that cannot be exposed to heat, such as certain beads or handmade pieces with delicate components. Using pliers, I twist and manipulate the wire to create a wire wrap donut bail around the object, securing it in place. This technique adds a decorative element to the bail while maintaining the integrity of the design. It's crucial to choose the appropriate gauge and type of wire to support the weight of the jewelry item.
In practice, each attachment method requires a thoughtful approach to ensure the durability and aesthetic of the final piece of jewelry.
Design Considerations
| Design Consideration | Description |
|---|---|
| Material | Choose a material that complements the overall design of the jewelry piece, such as matching metals or gemstones. |
| Size | Ensure that the size of the bail is proportionate to the size of the jewelry piece and can support its weight without overpowering the design. |
| Shape | Consider the shape of the bail, whether it's round, oval, or another geometric shape, to enhance the aesthetic appeal of the jewelry. |
| Attachment Method | Select an appropriate attachment method based on the jewelry piece's design and functionality, such as soldering, gluing, or wire wrapping. |
| Visibility | Determine if the bail should be visible or hidden within the design, depending on the desired aesthetic and practicality. |
| Durability | Ensure that the bail is sturdy and securely attached to prevent breakage or loss while wearing the jewelry. |
| Customization | Consider customizing the bail with additional embellishments or decorative elements to personalize the jewelry piece. |
When I consider the design of a bail in jewelry, my focus is on two pivotal aspects: marrying aesthetics with functionality and ensuring proper support and security. These considerations guide me to create a piece that not only looks beautiful but is also durable and practical for everyday wear.
Aesthetics and Functionality
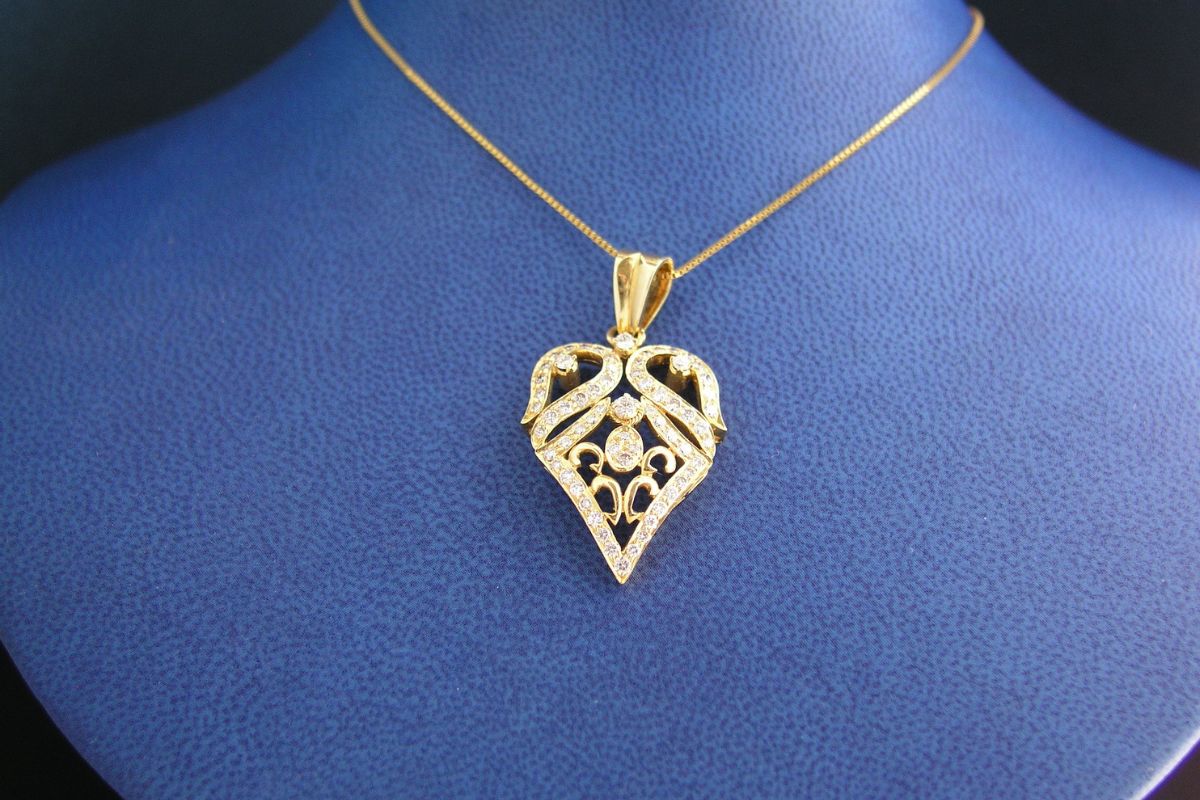
To ensure that a bail complements the overall design of a necklace pendant, I carefully balance its visual appeal with its practical role. The bail must:
- Be congruent with the style of the pendant and chain, whether handmade or custom-designed.
- Allow the charm or pendant to hang correctly and move freely without flipping over.
- Integrate seamlessly with connectors or jump rings that ensure the piece remains a coherent whole.
Support and Security
The structural integrity of a bail is paramount. In my designs, I ensure:
- Adequate support for the weight and type of the pendant or charm, whether it’s a light bead or a heavy gemstone.
- Stable and secure fastening to the piece, utilizing techniques such as soldering to prevent detachment over time.
- Proper use of component materials that offer the required strength without compromising the necklace’s flexibility or function.
Selecting Bails for Different Jewelry Types
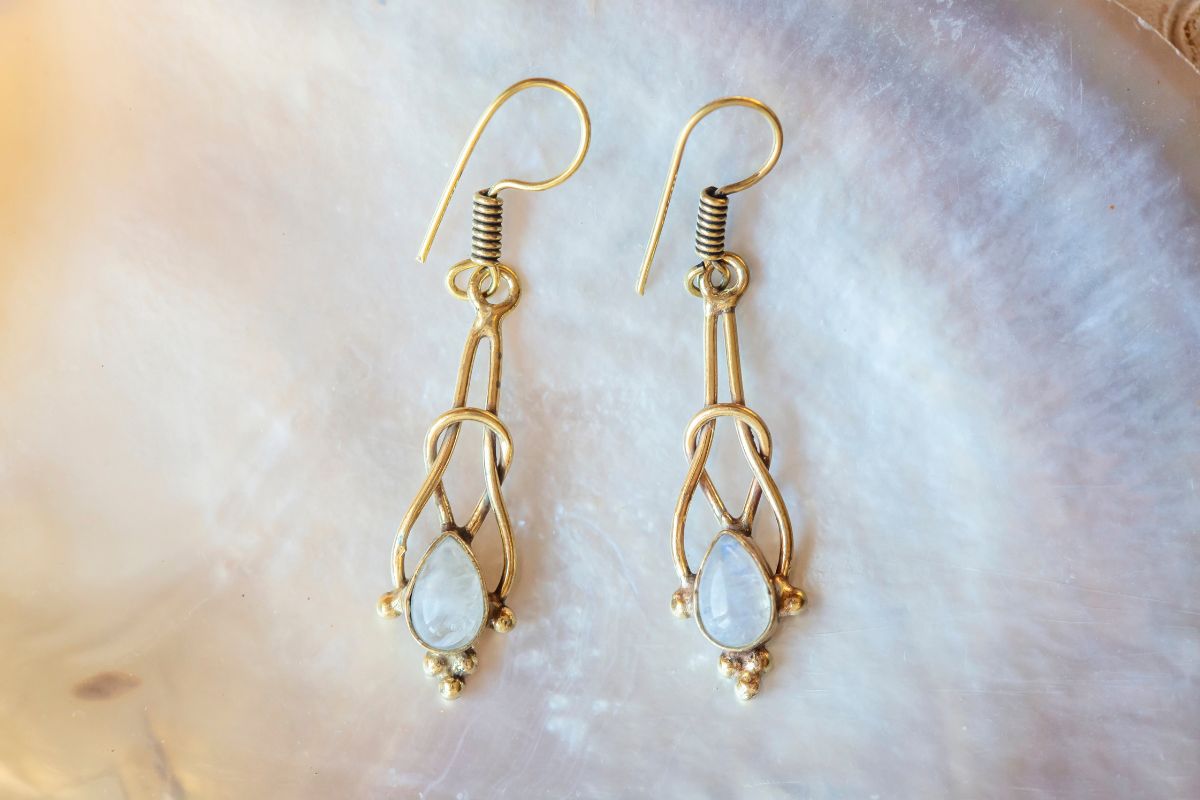
When I create jewelry, choosing the right bail is crucial for both aesthetic and functional purposes. It's about finding the perfect match for the jewelry type to ensure the piece is secure and looks cohesive.
Necklace and Chain Bails
For necklaces and chains, the bail acts as a critical connector between the pendant and the chain itself. It not only has to complement the design but also must bear the weight of the pendant. I often use a simple tension bail for lighter pendants it's a design where the bail snaps back into its closed position due to the tension of the metal. If the necklace design is more intricate or the pendant heavier, a bail with a ring might be more appropriate. This type features a loop that can be either open, allowing for easy interchangeability of pendants, or closed, for a more permanent fixture.
- Standard Bail: Best for lightweight pendants; tension closure.
- Bail with a Ring: Suited for easy swapping of pendants; available in open or closed rings.
Ring and Earring Bails
While the term "bail" is most notably associated with necklaces, similar principles apply to rings and earrings. Here, the bail-like structures serve to connect embellishments securely to the body of the ring or the drop of the earring. For rings, particularly those featuring charms or dangles, a loop that allows the attachment to move freely works well. It ensures that the charm can dangle without impacting the ring’s fit. With earrings, I prefer using a pinch or hook style which allows for adding beads or pendants. This style is designed for ease of use and often doesn't require additional tools.
- Ring Attachments: Loops for movable charms; ensures a comfortable fit.
- Earring Hooks/Pinches: Ideal for dangling elements; tool-free attachment.
By selecting the appropriate bail type for either necklaces, chains, rings, or earrings, the resultant jewelry piece is both secure and aesthetically pleasing. The choice of bail contributes to the overall design and wearability of the jewelry, making it an essential consideration in the crafting process.
Custom and Pre-Made Bails
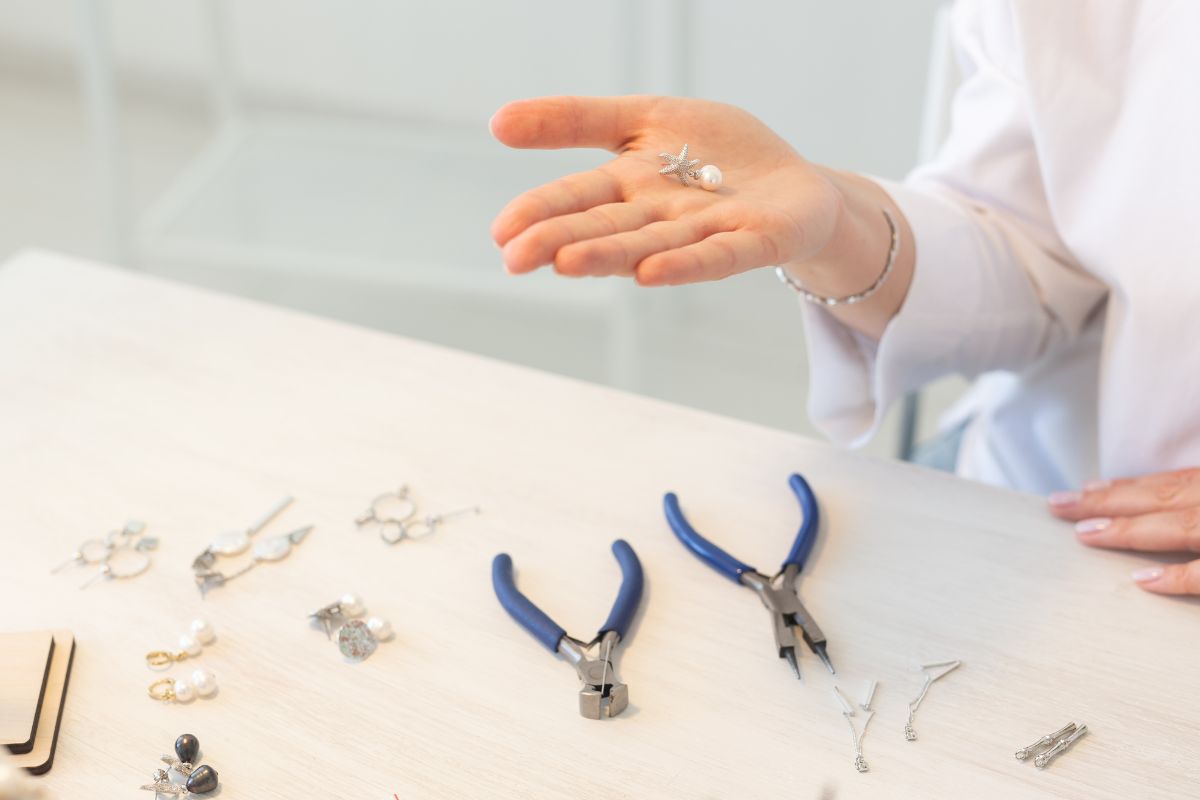
In jewelry making, bails serve as the critical link between a pendant and its chain or cord. I'll detail the distinctions between handmade and standard pre-made bails, focusing on their design features and functionality.
Handmade Bails
My approach to creating handmade bails often involves customizing them to fit a specific pendant's aesthetic and functional requirements. Utilizing materials such as wire or metal sheets, I sculpt and solder these bails to provide a unique touch to each piece. For example, a classic bail might be crafted by forming a loop with a decorative twist, which can then be seamlessly integrated into a necklace design. This customization ensures that the bail not only complements the pendant but also holds it securely.
Standard Pre-Made Bails
Conversely, standard pre-made bails are readily available and come in various styles to suit different jewelry designs. I find that the most common ones include:
- Classic Bail: A simple loop, which is often attached to the pendant with a jump ring, offering ease of motion along the chain.
- Tube Bail: A cylindrical shape providing a sleek, modern look and is particularly suitable for heavier pendants.
- Snap-on Bail: This design allows for a quick and tool-free attachment of a pendant, making it ideal for interchangeable jewelry pieces.
Pre-made bails are ideal for ensuring consistent results and saving time in jewelry production. When I select a pre-made bail, I ensure that its design is appropriate to the weight and style of the pendant it will hold.
Enhancing Jewelry with Bails
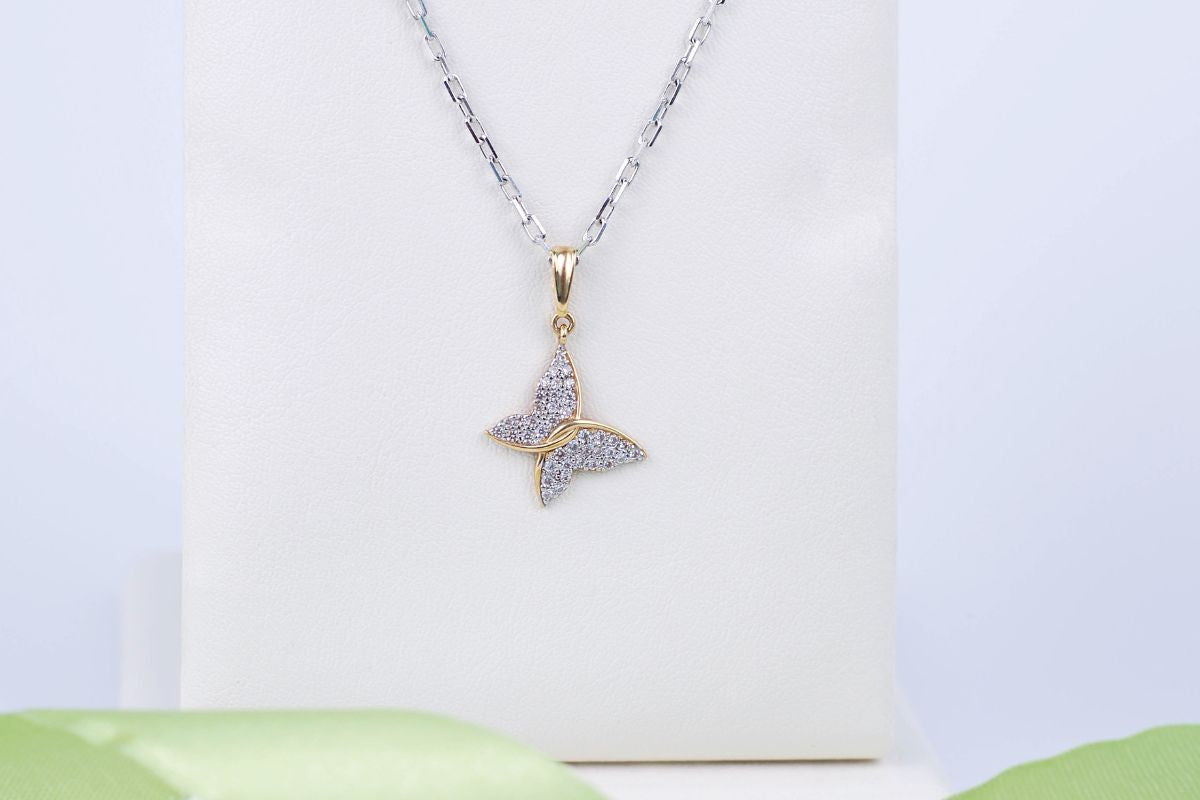
Bails in jewelry are not just functional; they offer a way to add sophistication and personal touch to pendants and necklaces. By choosing the right bail, I can dramatically alter the appearance and style of the jewelry piece.
Adding Gemstones and Beads
When I want to attach gemstones or beads to a necklace, I find that bails serve as a perfect connector. Bails come in various styles, some of which are specifically designed for this purpose:
- Folding Donut Bails: Ideal for small to medium-sized gemstones or glass donuts, these bails clamp over the stone or bead.
- Snap-on Bails: Appropriate for easy changeouts, allowing pendants to be quickly attached or detached without tools.
- Pinch Bails: Used for half-drilled beads and pearls, they pinch into the drill hole for a secure fit.
The choice of bail affects how the stones are presented and ensures that they hang correctly to catch the light and display their full beauty.
Integrating into Jewelry Sets
When creating a jewelry set, consistency is key. Bails allow me to design a cohesive look among different jewelry pieces. For example:
- Necklaces & Pendants: By using the same style or type of bail on different necklaces, the pendants can be mixed and matched within the set.
- Earrings & Bracelets: For earrings or bracelets that feature hanging elements, bails ensure that these elements match the necklace's pendant.
Using bails in this way allows me to create a unified jewelry set where the pendants, beads, and other elements are harmoniously integrated.
Repair and Maintenance
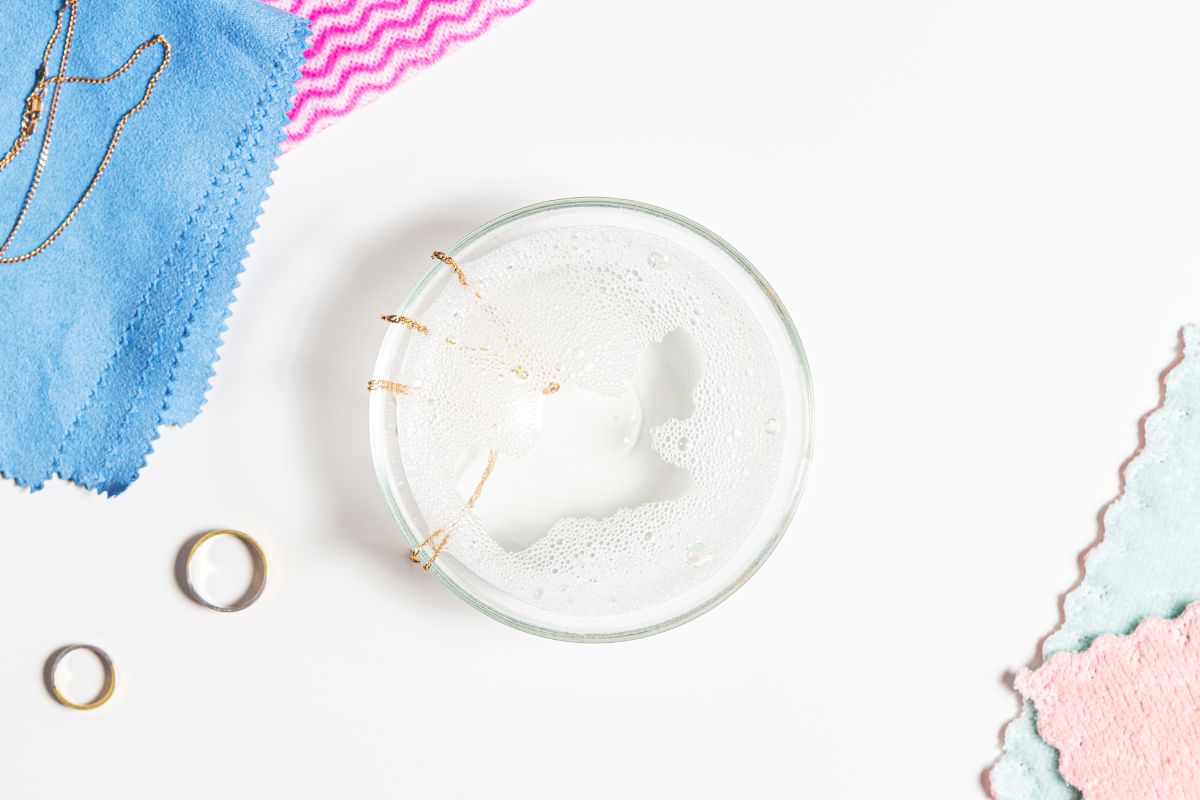
In the realm of jewelry, the strength and durability of a bail a crucial component connecting pendants to chains are vital for longevity. My focus here is to ensure your jewelry remains intact and to guide you through replacing and caring for bails with precise methods.
Replacing a Bail
When a bail on a piece of jewelry like a cross or other pendant becomes damaged, I typically utilize pliers to carefully remove the old bail. It's important to open the links connecting the bail to the pendant without causing further damage. For a standard bail, I might gently pinch it open, slide the pendant off, and then attach a new bail by reversing the process, making sure to securely close the bail to avoid any gaps. For a safety pin bail or a bail requiring more intricate work, I may gently flatten the ends with pliers to thread them through the pendant and then reshape them to secure the new bail.
Caring for Bails
Routine care is essential to prevent the need for bail repairs. I suggest regularly inspecting jewelry bails for any signs of wear, such as pinched areas or bends in the metal that could weaken its structure. It's best to clean jewelry with a soft cloth and to avoid harsh chemicals that could corrode the bail. I also advise against excessive tugging or twisting of the bail, as this can cause unnecessary stress on the bail and the connecting links or headpins, acceleration wear and potentially leading to breakage. When not worn, jewelry should be stored on padded surfaces where it can lay flat and safe from tangling with other items.
Frequently Asked Questions
In my experience with jewelry making, understanding bails is crucial, as they are the connecting piece that allows a pendant to be added to a chain.
How do you attach a pendant to a chain using a bail?
Attaching a pendant to a chain through a bail typically involves sliding the chain through the bail's opening before securing the bail to the pendant, which may involve snapping it shut, using adhesive, or mechanically fixing it.
Can you explain the different types of jewelry bails and their purposes?
Different types of bails serve various functions; snap-on bails allow for easy pendant changes, pinch bails offer a secure grip on stones, and decorative bails add aesthetic value while connecting pendants and chains.
What's the difference between a bale and a bail when referring to pendants?
The terms "bale" and "bail" are often used interchangeably in jewelry to describe the component that attaches a pendant to a chain, with "bail" being the more commonly used spelling.
What is the role of a bail in jewelry making, particularly for necklaces?
In jewelry making, particularly for necklaces, my role as a bail is to function as a connector between the necklace chain and the pendant, ensuring the pendant hangs correctly and securely.
How do pinch bails for pendants differ from other bail types?
Pinch bails differ from other bail types in that they have a mechanism that pinches into place, holding the pendant between two metal prongs, which provides a secure grip without the need for adhesives.
What are the advantages of using glue-on bails for pendants?
The advantages of using glue-on bails are that they offer a clean look and a strong bond between the bail and pendant, especially useful for pendants that do not have pre-drilled holes or loops for hanging.
Checkout some of our top collections:
Comments
Leave a comment
Please note, comments must be approved before they are published.



Nadia Mahmud
May 08, 2025